
Tips on how to solder on Veroboard
This article explains how to solder on veroboard, so you’ll mainly be soldering components and wires to the copper tracks. It’s not difficult when you know how to do it properly and once you have mastered the techniques and had a little practice you will soon be soldering like an expert.
Then you can go on to build all sorts of projects. Even something like a synthesizer. Have a look at my project about how you can build a synthesiser on Veroboard.

If you are new to soldering you may find my article Learn how to solder – A beginners guide useful to learn the basics.
Once you have mastered the art of soldering you will need to master how to desoldering. None of us are perfect and you’ll solder something wrong and need to unsolder it.
If you have even the slightest interest in things stripboard-related then check out my post, Stripboards – the complete guide. I’m sure you’ll pick up at least one tip to save you either time or money!
Information
Where would electronics be without soldering? Unbelievably, the modern soldering iron was patented way back in 1896 by Richard Schneider and August Tinnerhol and was known as an “Electric heating apparatus”.
How to solder on veroboard – safety first
Soldering has not changed much since I was first taught however there are more things to be aware of safety-wise these days that we didn’t bother with but perhaps should have. This is what you should do. First off you should wear safety glasses.
There were lots of occasions that I didn’t and on one occasion I somehow managed to get a little bit of hot solder in my eye. Luckily it didn’t cause any serious damage but you really should be wearing them. You might not be so lucky.
Something else we also didn’t bother with was washing our hands. We soldered and ate our sandwiches as we worked. As you are probably aware solder contains lead and handling it means some will get where it shouldn’t, so wash your hands afterwards.
We are still not aware of all the long-term effects of lead poisoning but you can bet it’s not good.
Same with the fumes that solder produces, again, it’s not proven that there’s anything too bad but you can bet you’re better off not breathing them so anything that helps is good. Certainly, if I were just starting out again I would buy an extractor and get into the habit of using it every time I soldered. For the price and the running cost, there’s not really a reason not to.
Check out my buyer’s guide on solder fume extractors and air purifiers.
How to solder on veroboard – the basics
That’s the health and safety out of the way, now on to actually how to solder a circuit board. Soldering is a way of joining metals in a mechanical and electrical conductive way.
It is a relatively low-temperature method when compared to brazing or welding (about 200 degrees C) but you can only solder certain metals, mainly copper and for this article, I’ll be talking about something electrical that you will be soldering.
Firstly make sure that the area you are using is clutter-free. You’re using something with the potential to cause a lot of damage so you don’t want anything that you’ll catch the lead on or any substances to knock over, especially flammable ones.
You need to make sure you have the right tools. It’s no good trying to make do with pound shop tools if you want to do a good job. If you want to get a decent soldering iron check out my guide here.
If you looking for a soldering station you can read my guide here.
When you solder on veroboard, you need a slightly larger tip than if you were soldering on a project PCB. This is because the copper strips are fairly thick when compared to the pad sizes of modern PCBs. They are also good at conducting heat away down their length.
Finally, you should make sure you get the right solder. Definitely don’t use solder for plumbing. I grew up with lead solder, which was easier to solder with than the “new lead-free solder. You will need to turn up the temperature of your solder station.
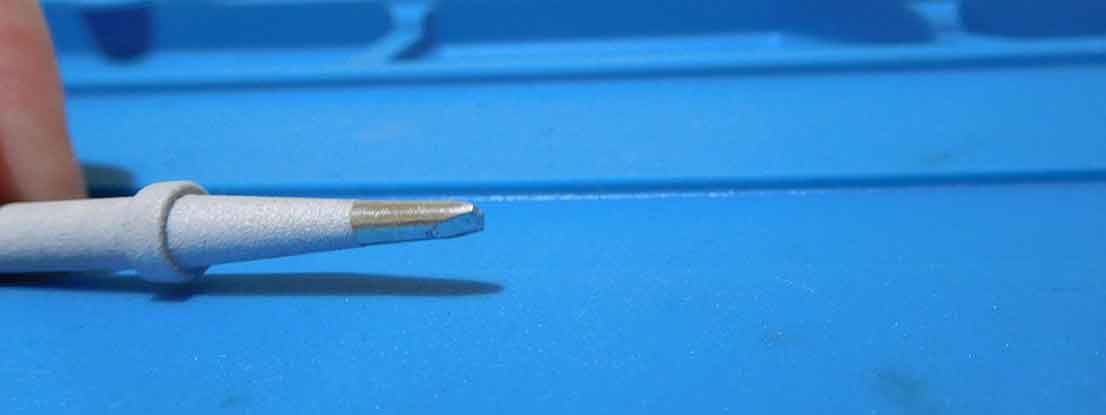
Something like this is more suitable than a fine-pointed tip. If you need more information you can read about soldering iron tips here.
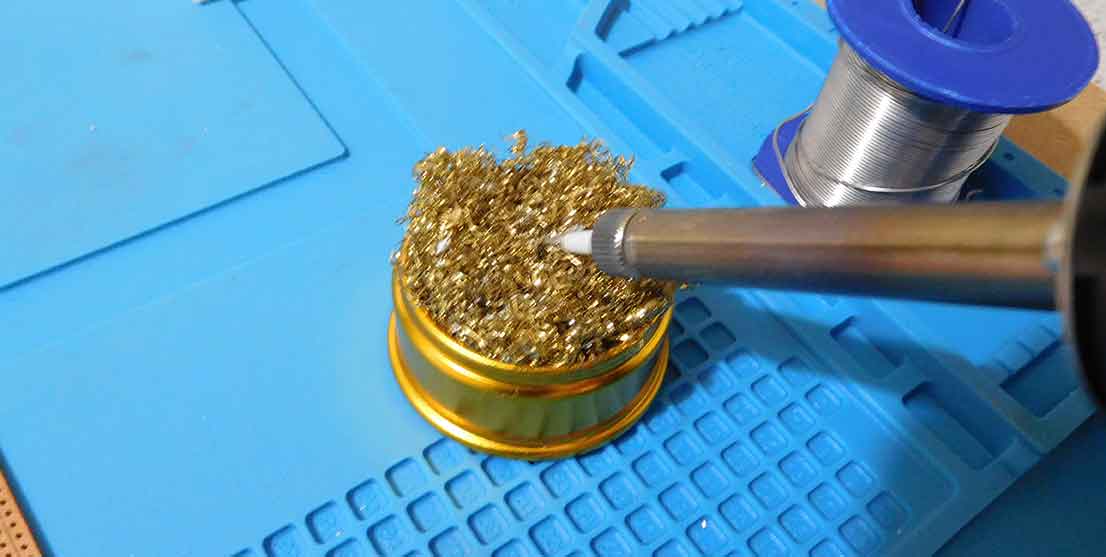
Give it a wipe on your tip cleaner.
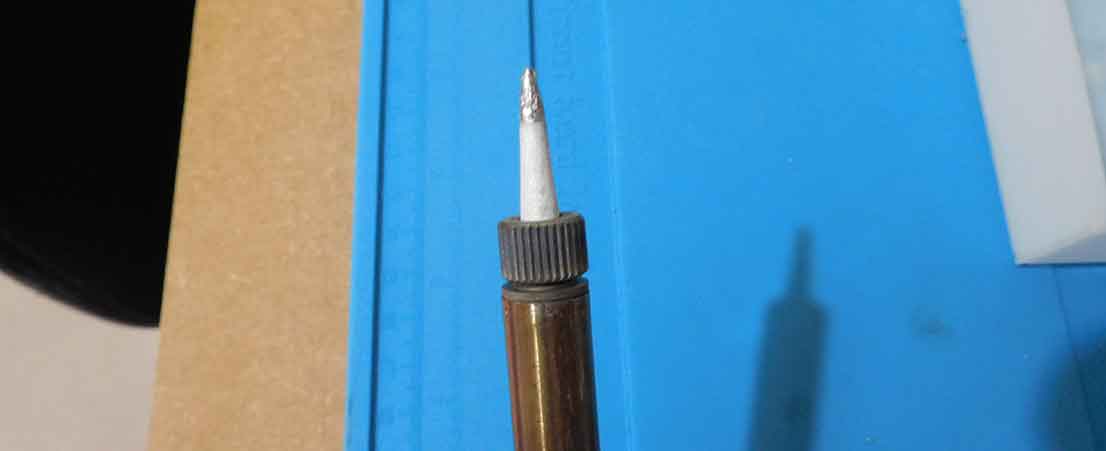
Tin your tip
The first thing to learn about how to solder on veroboard is to make sure the tip is clean and tinned.
You should get into the habit of regularly wiping the tip on the damp sponge to get any residue of flux or solder off it and before you start, after the iron has warmed up you should tin the tip which just means melting some solder onto it and wiping it off.
This should leave it bright and silver-coloured and ready to conduct heat properly.

You’re ready, is your iron?
Make sure that the iron has become hot enough. It’s no use trying to force the iron onto a joint if there’s not enough heat.
Cleanliness is the key
The most important part of how to solder on Veroboard is cleanliness. Make sure that the veroboard and the component leads are clean. If they are old they will have oxidised so you’ll need to use a very fine abrasive on them.
You can get a fine abrasive block that you can clean the copper on a circuit board with and clean component leads by wiping them on it. Brand new components and boards should be OK but you won’t do any harm by giving them a quick clean.
If the components and board aren’t clean you won’t get a very good solder joint and you will probably end up overheating the board and components.
Tip
There’s something extremely cheap that will help the solder flow. That thing is flux. You should get some flux for those difficult-to-solder joints. My article goes into more detail.
Flux will make soldering easier. it’s essential for SMD soldering. It’s cheap, really helps and lasts for years.

Finally doing it
So everything’s clean and ready to go what do you do next? Simply apply the clean iron tip to the joint and allow it to heat up for two seconds. Then while keeping the iron in the same place feed in the solder.
Not too much, it will melt and flow almost immediately over the component lead and pad on the circuit board and when this happens you just take away the iron and the solder and keep the board and component still for another few seconds and its job done.
You should be left with a bright silver joint that looks like the one in the picture. That is how to solder on veroboard, simple wasn’t it?
Tip
Throw away the sponge and get a brass wool cleaner. It won’t cool your tip and won’t dry out either!

“Hi, I’m Graham Moore and I’ve been building electronic projects since I was 12. I had a fascination for old radios and taking them to pieces but when my Nan bought me an electric soldering iron, I realised with a few components I could build stuff.
Learning to solder opened up many doors for me as electronics also became a career. I hope you get as much from it as i did”.
Common stripboard mistakes

Common stripboard mistakes There’s nothing more frustrating than completing a circuit on a stripboard only to find out it doesn’t work. OK, there are other things but it’s still pretty…
Breadboard vs stripboard

Breadboard vs stripboard Which is the best method for building prototype circuits? Breadboard vs stripboard, which is better? In this article, I’ll explain the advantages and disadvantages of each method….
What’s the best stripboard?

Stripboard has been around for a long time and its still manufactured and bought in large quantities. It has, and will still remain hugely useful for electronic hobbyists to build,…
Lochmaster 4.0

Lochmaster 4.0, is it the best stripboard layout software? I have tried a few of the other available stripboard layout designer software packages. There is some very good free software…