

Electronic test equipment kits
While looking at electronic test equipment kits, I found this one.
A while ago I was looking for a cheap transistor test. I did toy with the idea of building one. There are several designs based on traditional techniques of basically substituting the transistor on test into the circuit and lighting an LED or something to indicate that it was working correctly.
The problem was that testing PNP and NPN transistors and the different lead layouts meant it wasn’t going to be as straightforward as I’d first thought.
Tip – Learn how to solder properly
.I’m still surprised by how many people still muddle by without learning the proper way to solder.
Do it properly and you’ll save so much time and trouble.
What I eventually found was far better than I ever could have imagined, hoped or believed possible. If you think that seems over the top please read on and I think you’ll see why. As electronic test equipment kits go I find it hard to fault this one.
Imagine a device that had a test socket that had three connections on it and it didn’t matter which component legs connected to which. Imagine if you didn’t even know what the device was. You just pressed a button and got the results on the screen.
The component tester

That’s in a nutshell exactly what this Yosoo(TM) UK-SMD/DIP Transistor Tester Diode Triode Capacitor ESR LCR Meter PNP NPN MOSFET does.
What you get are constructed boards with all the hard SMD stuff already on them. You just have to solder on the push button, battery connector, socket.
Then bolt on the display module and solder that. It only takes a few minutes to finish and you may wish to mount it in a case. I intend to do this when I finally get around to it.
Testing transistors
The completed kit has a zero insertion force socket with numbers around the edge of it. All you have to do is make sure that the three transistor terminals each connect to a 1,2 and 3.
The way they are arranged makes it fairly easy to just drop a transistor in. It doesn’t matter what terminals connect to where. The tester does it all for you. It informs you of the emitter threshold voltage and the current amplification factor, whether the transistor is PNP or NPN and the pin out.

Displaying the pinout is very useful if you just want to double-check a component. There are so many variations with transistors and no standard pinout.
For the cost, this alone would make one of the most useful electronic test equipment kits that I have come across. Add that to the fact that it can measure resistors.
Measuring resistors
Again useful to double-check check the value is what you think it is. I’m not sure what the actual accuracy is but as you can see from the picture below the 1,000 ohm resistor is actually reading 977.9 ohms so you could match resistor values easily with that resolution.

Measuring capacitors
You can also measure capacitors as you can see in the picture below. Polarity doesn’t matter but you need to make sure that they are properly discharged.
If not the charge can damage the tester. Large-value capacitors can take a while to test and measure, sometimes up to a minute. All other components only take a second or two.

Diodes
You can also test diodes. Shown below are pictures of a diode and a zener diode being tested, as well as MOSFET’s, JFET’s and thyristors.


Inductance can also be measured in exactly the same way. Just connect it up to either terminals 1, 2 or 3 and it will identify and measure it.
If you wanted to you could connect up a custom socket or leads as there are pads available clearly marked you could solder to.
Having built various electronic test equipment kits over the years I can easily say that this is the best component tester and measurement tool that I have ever built.
I wish I had one years ago. As soon as I had built and tried it I ordered another one for a spare. It’s really that good. I can’t imagine anyone who’s interested in electronics not being impressed.
It’s worth noting that this item in a very similar form is available from Amazon as a pre-built item direct from the UK.
For a detailed guide on using these component testers and the different components they test have a look at my guide.
Electronic test equipment kits – DSO 138 Oscilloscope kit
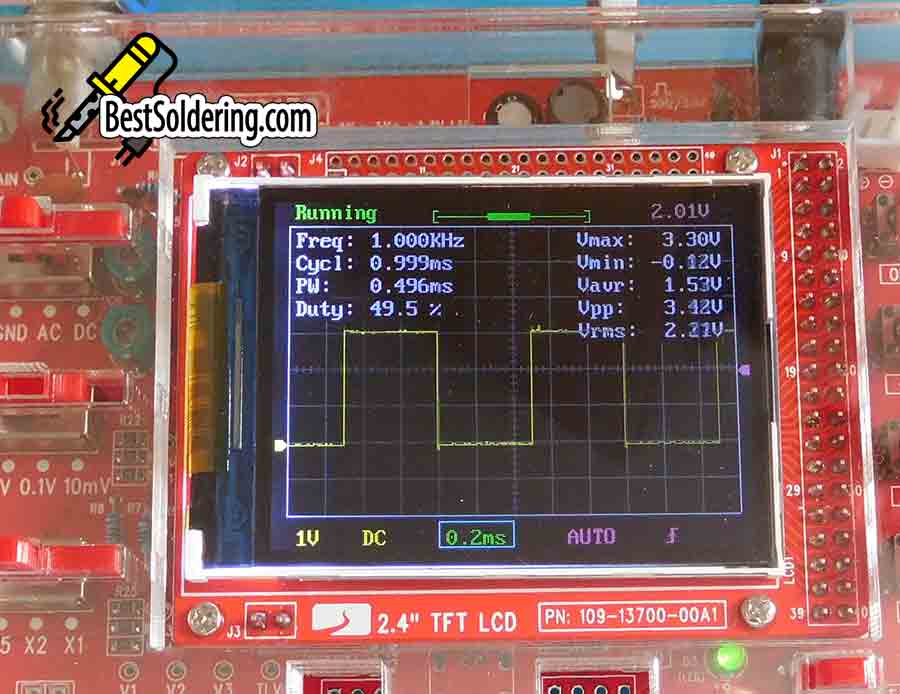
The next kit is the DSO 138 oscilloscope. If you haven’t got one and can’t afford an oscilloscope, I can highly recommend this one.
At around £20 you’ll be amazed at what you can do with this. You can do about 90% of things with this that you would hope to do with a fully functioning and expensive oscilloscope.
If you are unsure about what an oscilloscope is or does have a read of my article about what an oscilloscope does and how you can use an oscilloscope when building projects.
This kit includes all components except the solder. The instructions are very good and the PCB has all the surface mount parts already soldered so you only need basic soldering skills. Have a look at my soldering article if you need help.
To build it just follow the instructions, starting with the smallest components as is normal. Check out my guide for full details of the DSO 138 kit.

As I’ve mentioned you do end up with a fully functioning and useable oscilloscope. In the picture above you can see I’ve used it for testing an op-amp.

In the picture above I’m using the DSO 138 to check if a signal is getting through an optoisolator in a MIDI (Musical Instrument Digital Interface) input circuit.
This is one of the most useful electronics kits I’ve built. if you are interested in building electronic projects and you haven’t got an oscilloscope, you have to get this kit.
The only thing I can say that’s not great is the included test clip. This has two clips on it and isn’t very useful. As you can see from the pictures, I’ve just bought a cheap probe and I use that. It’s a lot better and completes the kit nicely.
Electronic test equipment kits – Signal generator kit
A perfect companion to the oscilloscope kit is a signal generator kit.

This is a simple kit to build and won’t take you long at all. You can easily build it in less than an hour. I’ve gone into more detail in the KKMoon signal generator kit build here.

One nice thing I like about this kit is that you get a case to finish the project off nicely. it also makes it a lot more usable.

There are plenty of uses for a signal generator in electronics. You can use them to test lots of audio equipment. You feed the generated signal into a circuit and you use an oscilloscope to track where it goes and what happens to it.
Electronic test equipment kits – Final thoughts
If you are interested in building electronic projects, test equipment kits are ideal.
Not only do you get to build a project but the project you end up with becomes useful for building and testing other projects. The three I’ve mentioned here are kits that are cheap but more importantly, I’ve used all of them loads since building them.
The component tester is fantastic and I use it all the time. when building stuff it’s so easy to check resistor and capacitor values. It’s also great for checking the pins outs of transistors.
The oscilloscope kit was something that I bought that has completely surprised me. I use it more than my proper hobbyist oscilloscope. Most of my needs are for audio and low-frequency stuff and I don’t need my full-blown oscilloscope.