
After struggling with the original Mutable Instruments Shruthi case I had a slightly differernt design made. The original had side panels held together by the force of the nuts and bolts tightening against the panels. It was a bit of a puzzle to get it to fit and stay together, so here’s my version.
I am now selling Mutable Instruments Shruthi cases. They are made of black acrylic and have pine end panels and are supplied flat to assemble.
The price is £35.00 which includes shipping to UK mainland.
[wp_cart_button name=”Shruthi case” price=”35.00″]
[show_wp_shopping_cart]
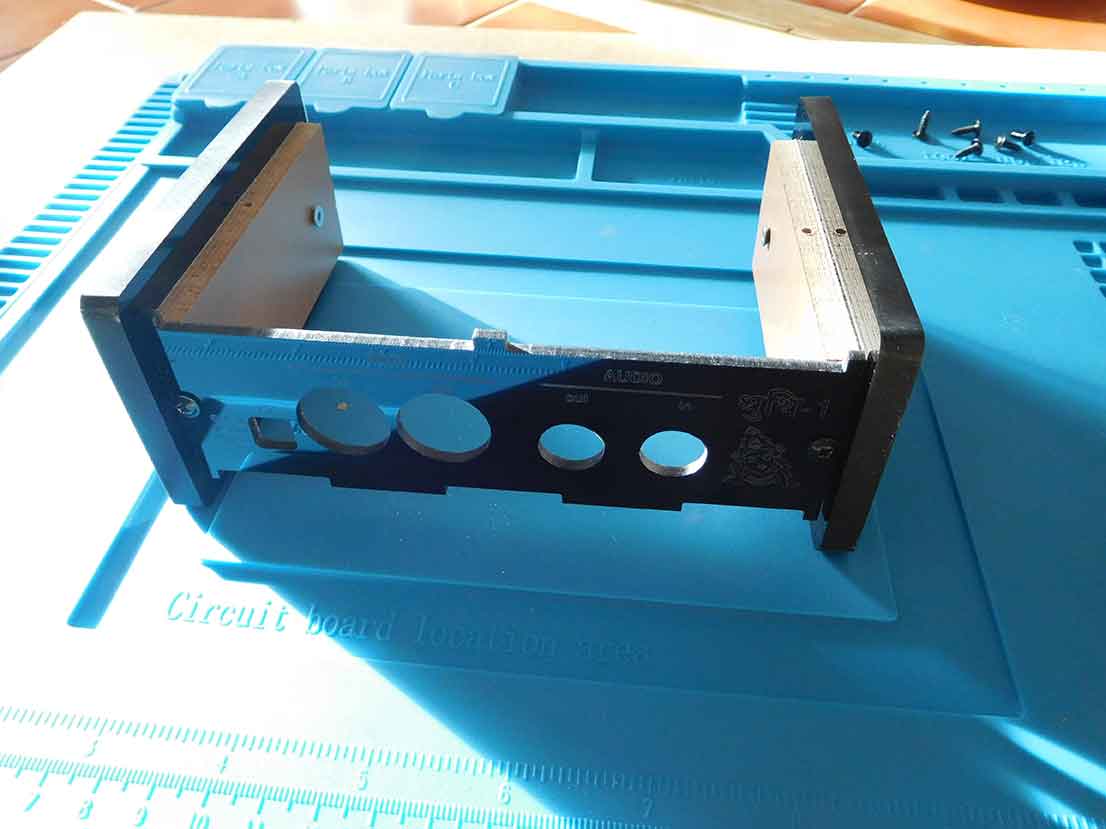
Fit the back panel with two screws.

Fit the bottom panel with two screws.
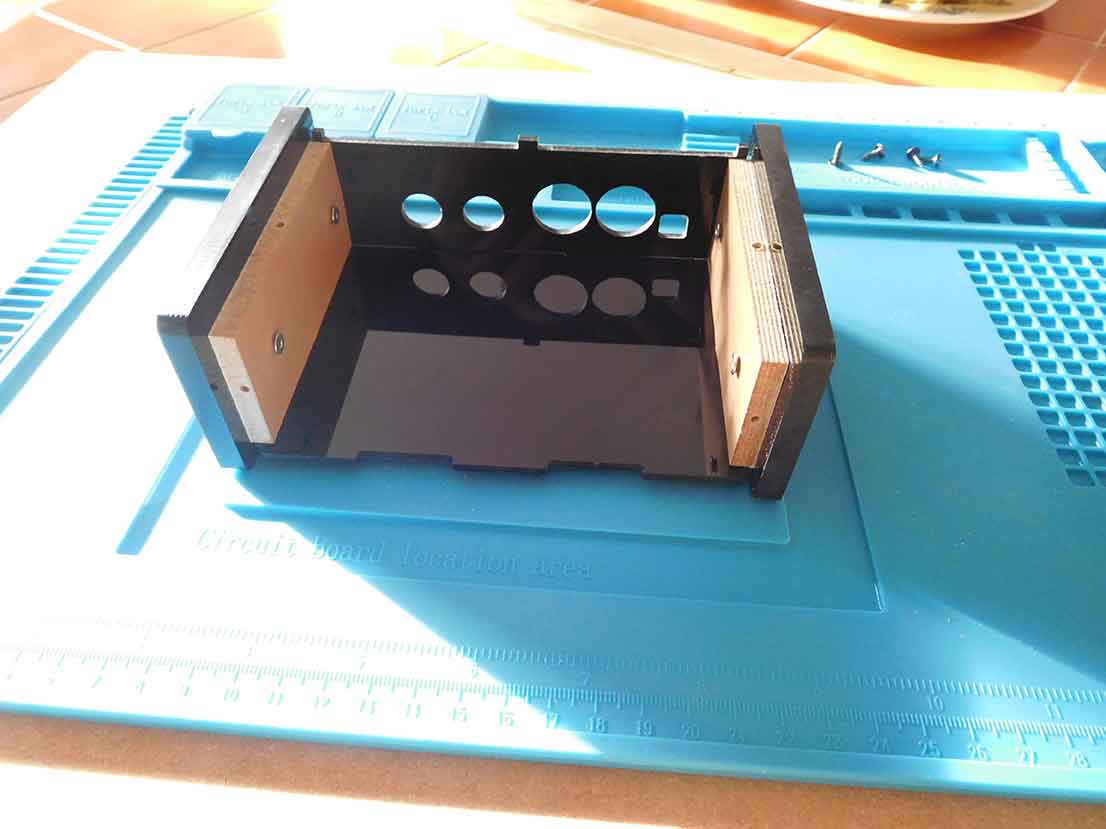
This is how it should now look.
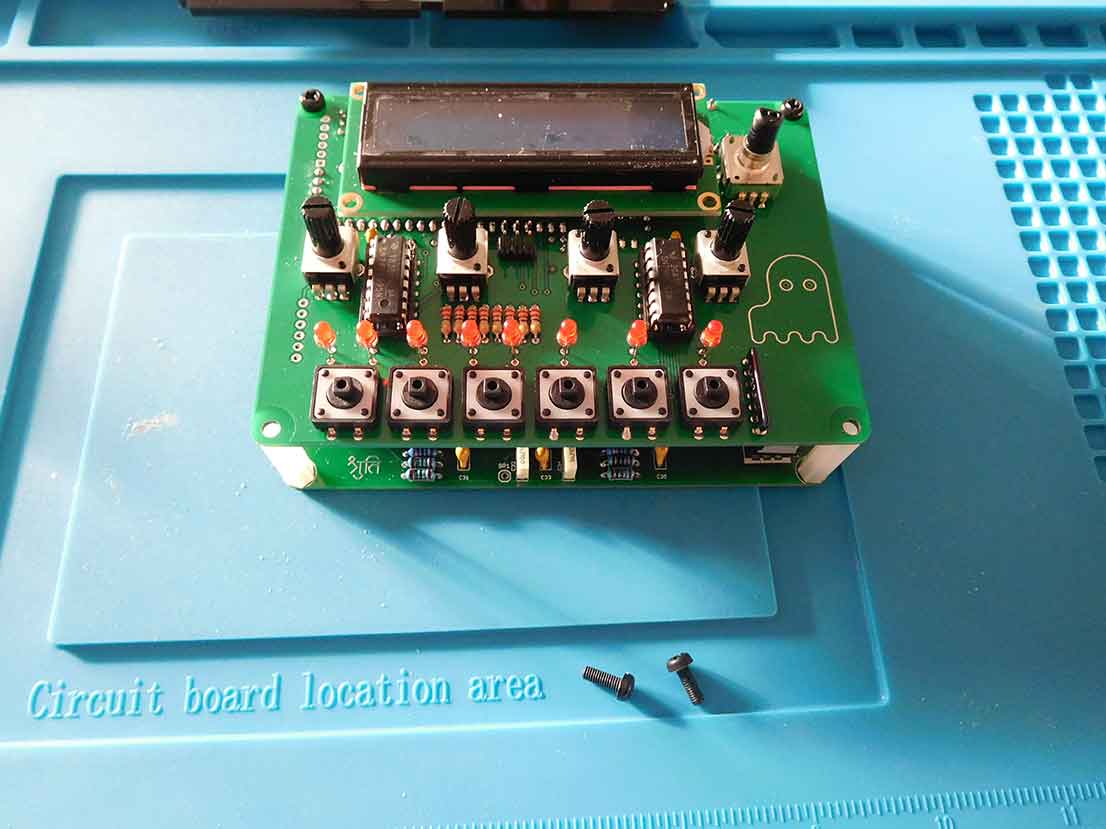
Remove the two front screws either side of the push buttons.

Screw the two 8mm threaded spacers to where you have removed the screws from.

The top panel can now be fitted with the two original screws going into the spacer. Note the top two screws don’t attach to the PCB.
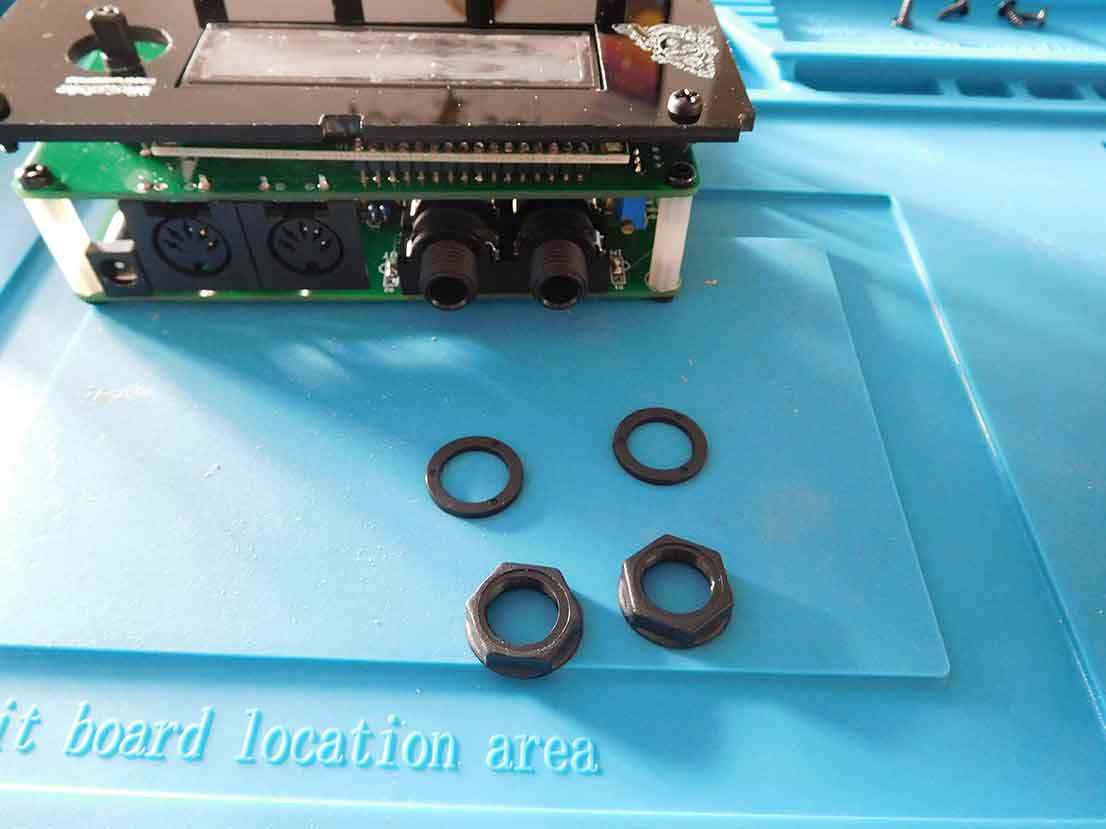
Unscrew the socket fixings.

The top panel assemble can now be fitted with the audio sockets going through the holes in the back panel.

You can then screw them back on.
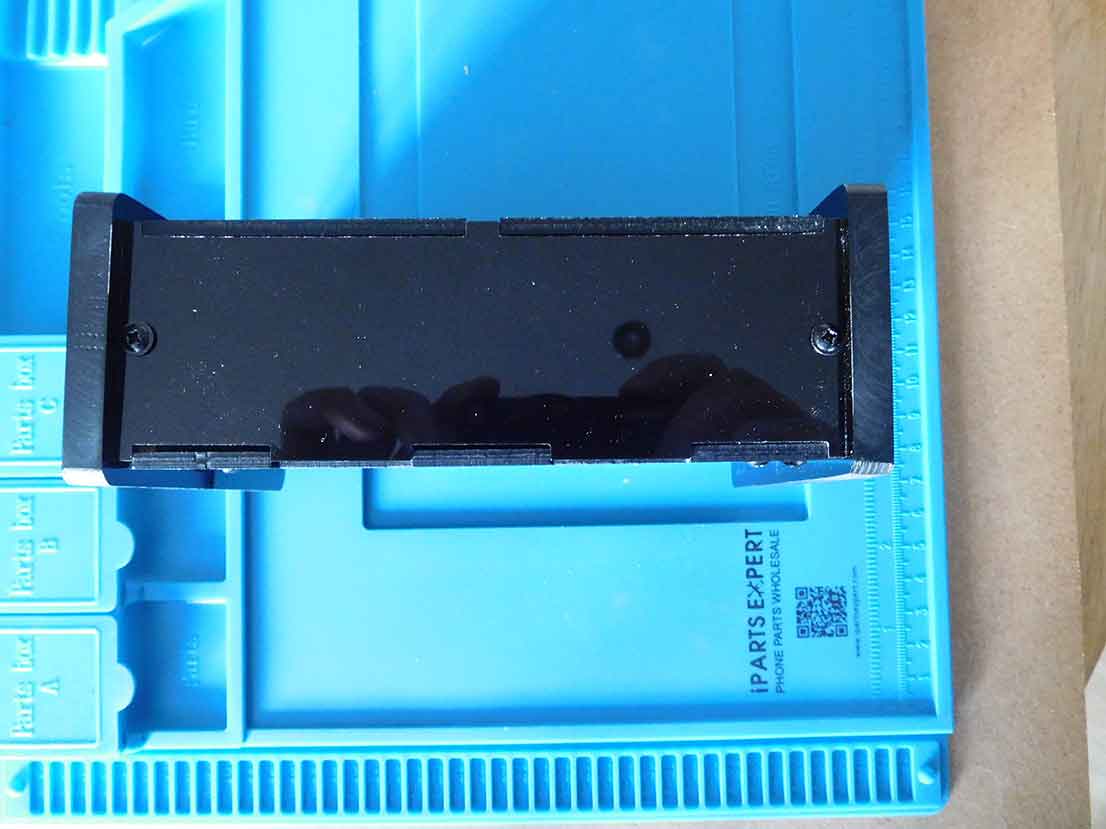
The front panel can now be fitted.
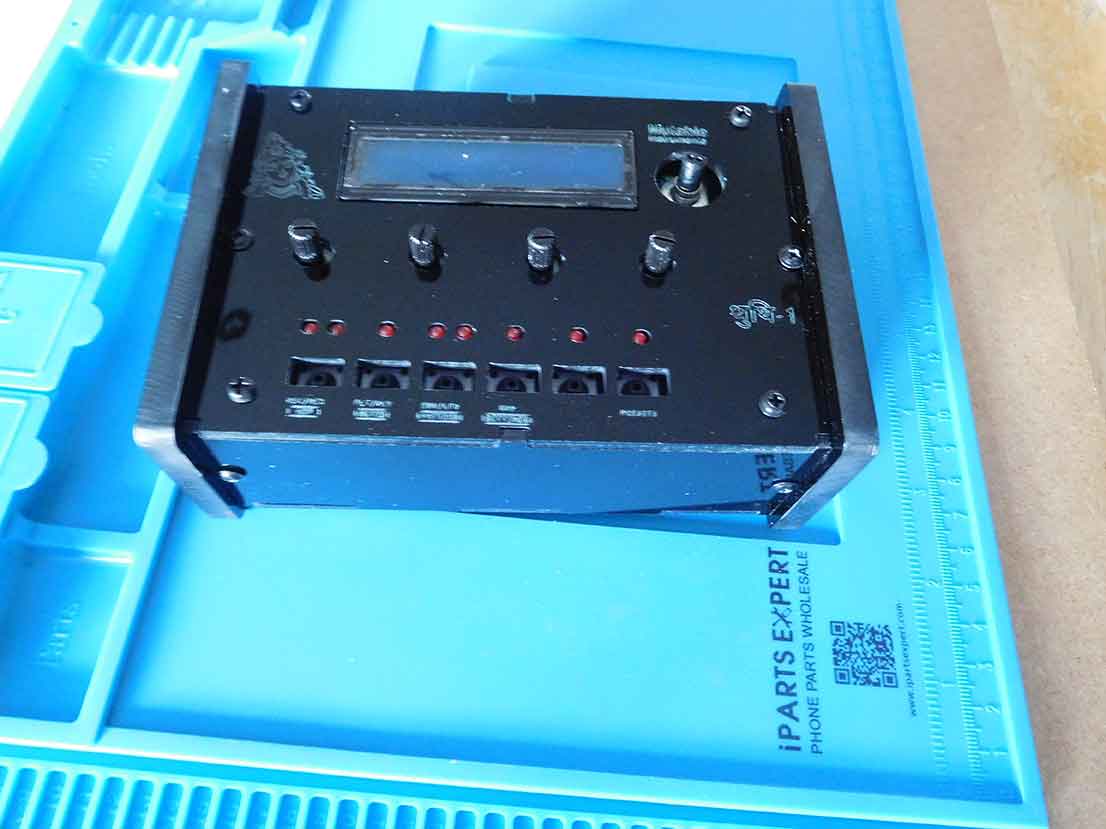
The completed case should look like this.